Most product visuals do not start looking cheap at the export step.
They start looking cheap much earlier.
The product truth is still vague. The material hierarchy is still undecided. The lighting lane keeps drifting between glossy spectacle and believable finish. The team wants a hero image, a paid crop, a launch still, and a retail support frame, but it has not separated which one is allowed to behave like atmosphere and which one will be read like proof.
That is usually where the premium feeling leaks out.
The useful question is not only which model makes prettier product images.
The useful question is what has to be locked before the first render so the image can feel expensive without becoming fake.
For Gateway, that is a production-system problem, not a prompt trick.
Premium is not a style layer added at the end
Teams often talk about premium product visuals as if premium were a final coating.
They imagine they can:
generate the image,
judge whether it feels high-end,
then add retouching, color, contrast, or a better crop,
and somehow lift the whole thing into a more expensive place.
Sometimes that helps.
Usually it does not solve the real weakness.
Premium product imagery is mostly the result of upstream decisions:
which product truth is authoritative,
which material cues matter most,
which camera behavior the brand is allowed to use,
which surfaces can stay atmospheric,
and which parts of the image have to survive close scrutiny.
If those answers are still muddy, the render can be polished and still feel generic.
That is why premium has to be designed before generation, not judged only after it.
The first lock is the authority pack
Before the first render, the team needs one compact authority pack for the product.
Not a moodboard swamp. Not twelve almost-similar references. Not five different lighting worlds fighting each other.
One authority pack.
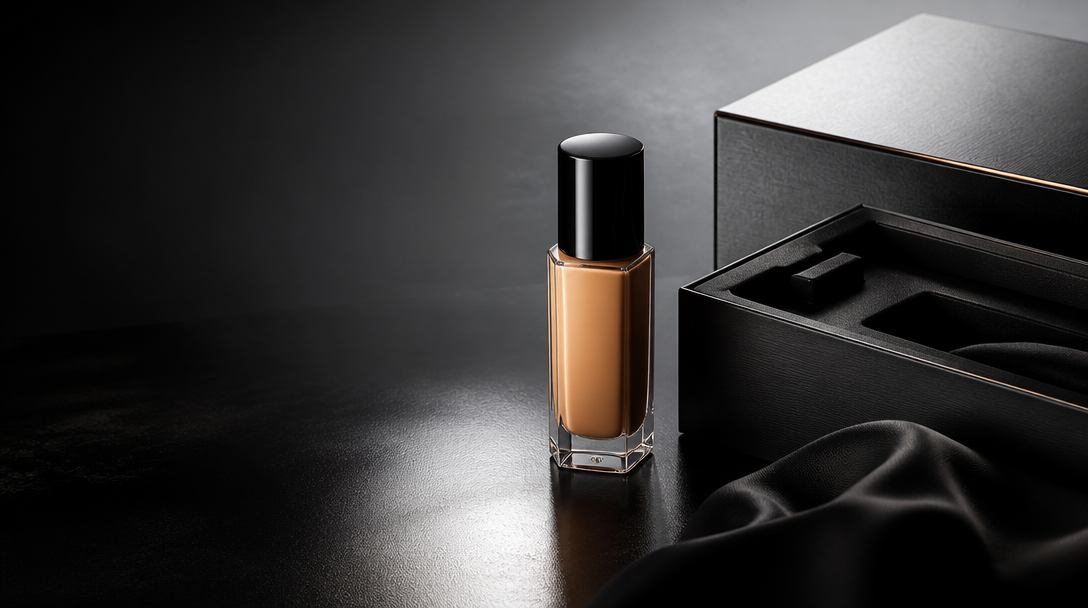
For product visuals, that pack should usually define:
the approved hero product image or hero angle,
the real silhouette and edge profile,
the materials that matter most to trust,
the exact color truth under neutral light,
the label or packaging details that cannot drift,
and the category cues the image must still respect.
This is the layer that says:
this metal stays satin, not mirror gloss,
this bottle does not suddenly become translucent,
this closure belongs to this SKU family,
this packaging edge cannot soften into a toy,
this label spacing cannot become decorative noise.
Without that authority pack, the model starts optimizing for harmony instead of accuracy.
That often looks impressive in a gallery and weak in a launch.
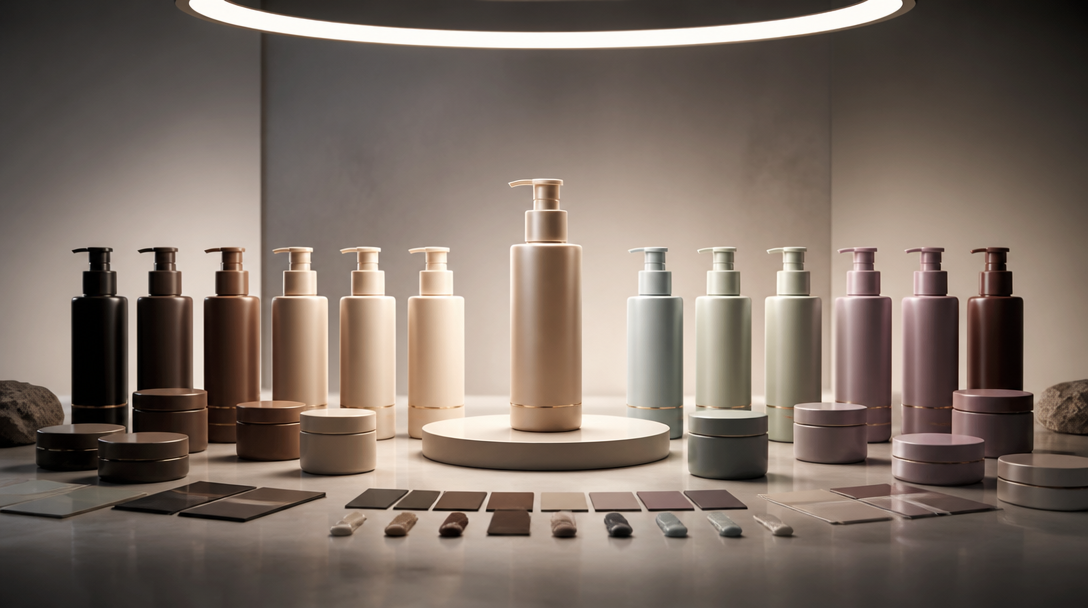
Material hierarchy decides whether the frame feels expensive
One of the fastest ways to cheapen a product visual is to treat every surface like it deserves the same attention.
Premium images rarely do that.
They know what the eye should trust first.
For some products, that might be:
the glass thickness,
the brushed metal ring,
the fabric weave,
the powder texture,
the embossed logo edge,
or the relationship between cap, body, and shadow.
That is material hierarchy.
If the hierarchy is not defined, the render starts distributing attention randomly:
reflections become louder than form,
gloss becomes louder than shape,
background drama becomes louder than finish,
and color styling becomes louder than product identity.
The image may still feel dramatic. It stops feeling expensive in the useful way.
The premium move is to define which two or three material signals must carry the frame before anything else gets exaggerated.
Lighting lane matters more than “make it cinematic”
"Make it premium" is already vague.
"Make it cinematic and expensive" is usually worse.
For product visuals, lighting has to do a commercial job.
It should answer questions like:
Is the product being sold through precision, warmth, softness, or tension?
Should the finish feel tactile or pristine?
Should the product feel clinical, sensual, technical, or launch-ready?
Is this frame building desire, clarity, or proof?
That is why a lighting lane should be chosen before rendering.
Usually the useful lanes are narrower than teams expect:
clean soft studio light for premium clarity,
directional contrast for sculptural hero shots,
restrained editorial shadow for mood,
product-table realism for proof-heavy surfaces.
What usually hurts:
mixed-light ambiguity,
dramatic flares that flatten the object,
reflections with no believable source,
and “luxury” lighting that makes packaging less legible.
The question is not whether the light is beautiful. It is whether the light helps the product feel more authored and more believable at the same time.
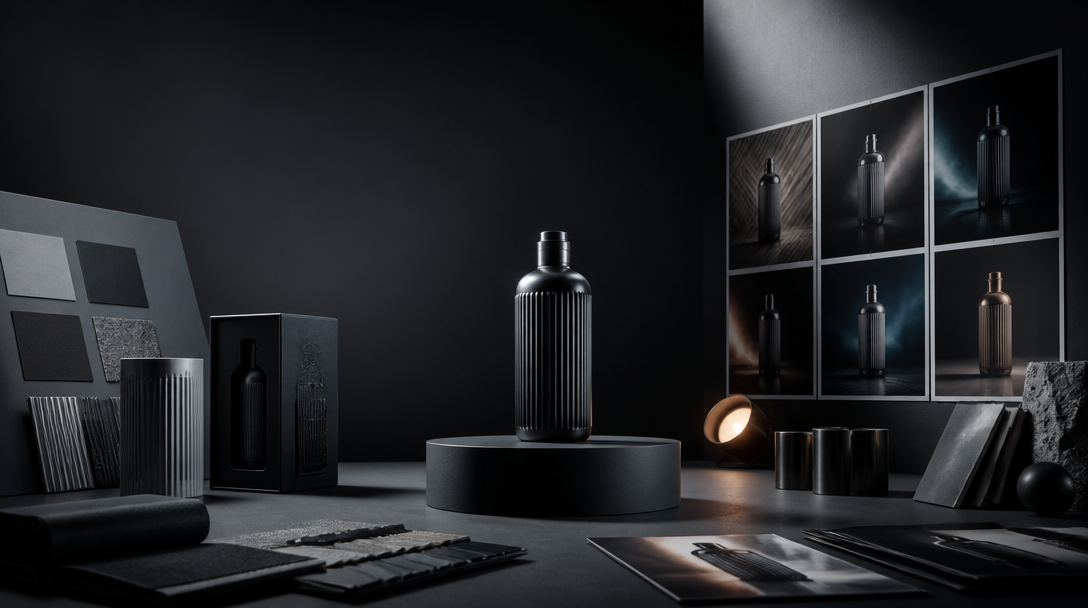
Separate the image jobs before you generate
A lot of teams ask one render family to do too many things at once.
They want the frame to:
establish premium mood,
explain the product,
carry close product truth,
survive paid crops,
work on a homepage,
and still feel dramatic in a campaign deck.
That is too much.
The stronger move is to separate the image jobs first.
For most launch systems, the first four jobs are enough:
A hero belief frame.
A product-truth crop.
A context or in-use frame.
A paid-social crop.
Each one has a different premium threshold.
The hero belief frame can carry more atmosphere. The product-truth crop needs stricter control. The context frame has to balance world-building with realism. The paid crop has to survive compression without losing the reason to trust the product.
If the jobs are not separated, the model improvises a compromise.
That compromise is often the exact point where premium disappears.
What to test first before scaling a product visual system
The first pass should be smaller and more disciplined than the team wants.
Do not start by generating a big family.
Start with four tests.
1. The hero packshot test
Can one clean hero frame make the product feel worth attention without shouting?
This tests silhouette, lighting lane, negative space, and the first premium impression.
2. The edge-and-detail test
Choose the crop most likely to expose cheapness:
cap detail,
label edge,
seam line,
finish transition,
embossed mark,
or reflective rim.
If this crop starts looking plastic, muddy, or over-smoothed, the premium claim is already weak.
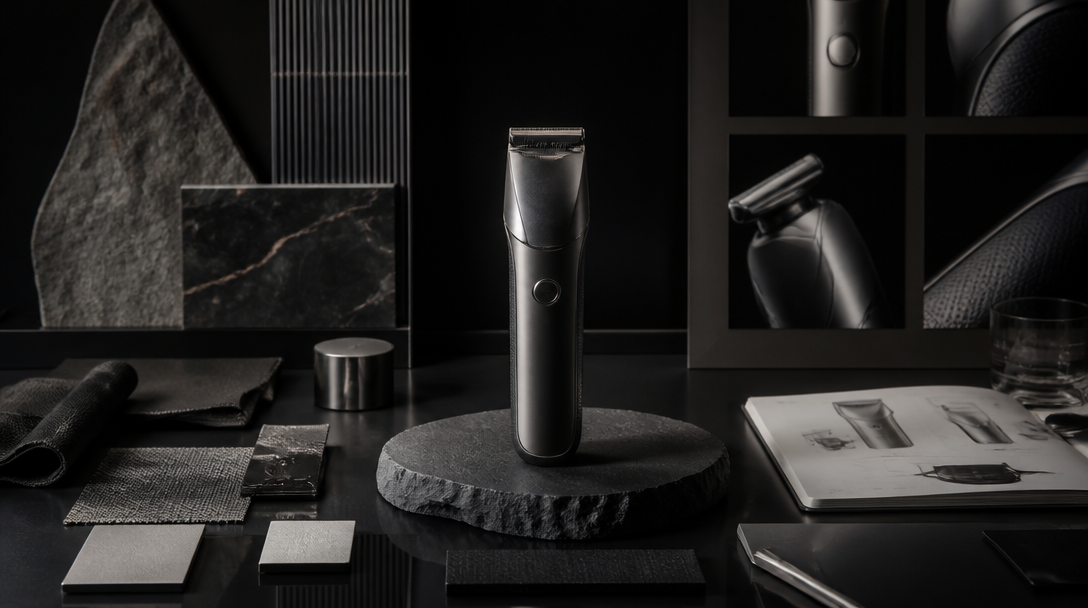
3. The context discipline test
Place the product into one believable environment.
Not three. One.
This reveals whether props, set styling, and atmosphere still support the product instead of burying it.
4. The paid-crop test
Compress the system into the frame that will be judged fastest.
This is where premium usually breaks in public:
the product becomes too small,
the finish stops reading,
the label loses authority,
or the whole frame starts acting like a generic lifestyle ad.
If the paid crop does not survive, the system is not ready to scale.
The five things that usually break first
When premium product visuals fail, they usually fail in predictable ways.
1. Plastic material behavior
Metal, glass, skin, powder, fabric, or coated paper all start drifting toward the same synthetic finish.
2. Overactive reflections
The product starts reflecting a world that does not seem physically present.
3. Category confusion
The image looks stylish, but no longer feels native to the market the buyer expects.
4. Label or packaging drift
The text block, shade window, dosage cue, or pack edge stops behaving like the real object.
5. Generic atmosphere
The product is technically centered, but the world around it could belong to any AI beauty, wellness, hardware, or beverage render on the internet.
That last one matters more than people think.
Premium visuals do not only protect realism. They protect specificity.
The settings and constraints that matter most
Once the control layer is clear, a few practical settings questions matter more than most style language.
Teams should ask:
is the reference authority strong enough,
is the camera distance helping or hiding material truth,
are there too many props competing with the product,
is the scene inventing reflections that make the object less literal,
is the crop asking the model to simplify the product in the wrong place,
and is the batch too broad to review honestly?
What usually helps:
fewer simultaneous variables,
one approved angle before many angles,
tighter reference packs,
shorter batches,
neutral-light color checks,
and explicit rejection notes after each round.
What usually hurts:
aesthetic adjectives with no product-control rules,
trying to discover brand taste inside the first render,
switching lighting logic mid-family,
and approving an image because it looks expensive from far away.
The premium bar is not “beautiful enough.”
It is “stable enough to scale without losing trust.”
What Gateway Studio should own in this workflow
This is exactly the kind of work that benefits from production memory.
Gateway Studio should not only store prompts here.
It should own:
the authority pack,
the approved material hierarchy,
the chosen lighting lane,
the image-job map,
the proof-sensitive crop list,
the rejected outputs and why they failed,
and the routing rule for what gets re-rendered, retouched, or moved to real capture.
That memory matters because premium drift is repetitive.
The same mistakes come back:
too much gloss,
too much atmosphere,
not enough shape,
fake packaging detail,
category-inappropriate props,
or a paid crop that weakens the hero logic.
If the system remembers those failures, the next round starts with judgment already built in.
That is one of the real advantages of a studio workflow over isolated tool use.
A practical review rule for premium product work
Before approving a frame, ask four questions:
Does the product still feel like the product we actually mean to sell?
Does the image know what material or detail should carry trust first?
Does the lighting make the product more believable, not just more dramatic?
Would this still feel premium after a paid crop, a launch page placement, and a close product read?
If the answer to one of those is no, the problem is usually upstream.
Fix the control layer first. Do not just ask the next render to be “more premium.”
Closing thought
The strongest AI product visuals do not feel expensive because they are louder, shinier, or more cinematic.
They feel expensive because the team decided early what had to stay true.
That is the real work before the first render:
lock the authority pack,
choose the lighting lane,
name the image jobs,
test the proof-sensitive crops,
and let Gateway Studio remember what premium drift looks like before it multiplies.
That is how a product visual system starts feeling like a brand decision instead of a lucky render.
Usually the product truth was never locked tightly enough. The render may look smooth, but material behavior, lighting logic, packaging detail, or category cues start drifting before the team notices.
Next move